Perfect Match,
Every Time.

Focused Efforts, Far-reaching Outcomes

Daily Matches
Community Therapists
Daily Sessions Booked
Main Benefits

Better Client Experience
Integrated Video Calls
Flexible Client Care
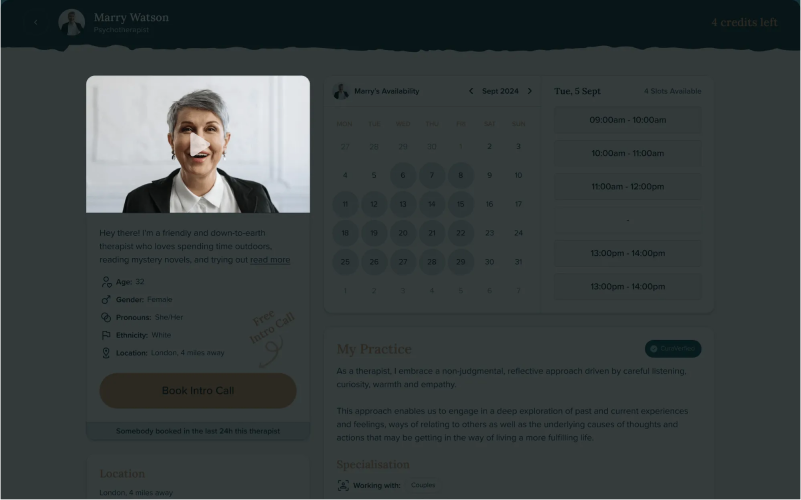
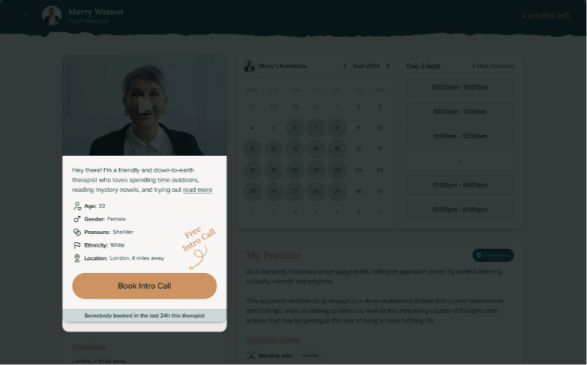
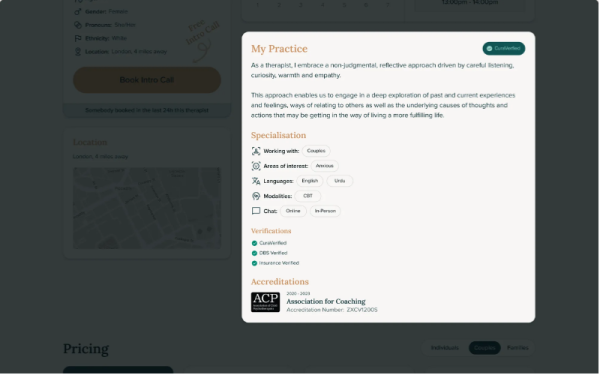
Showcase Your Practice




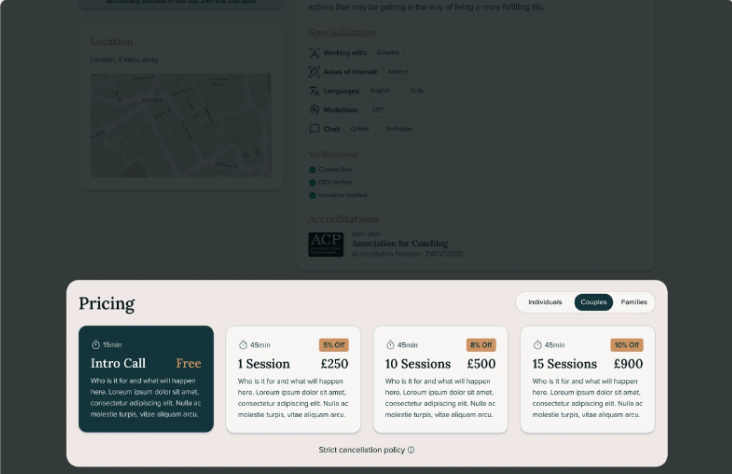


Flexible payment plans

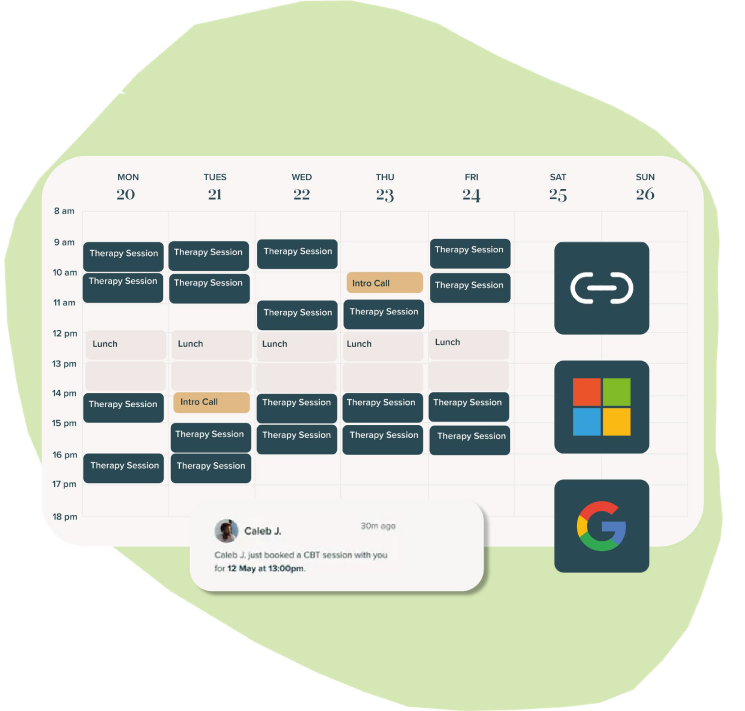
Effortless Scheduling

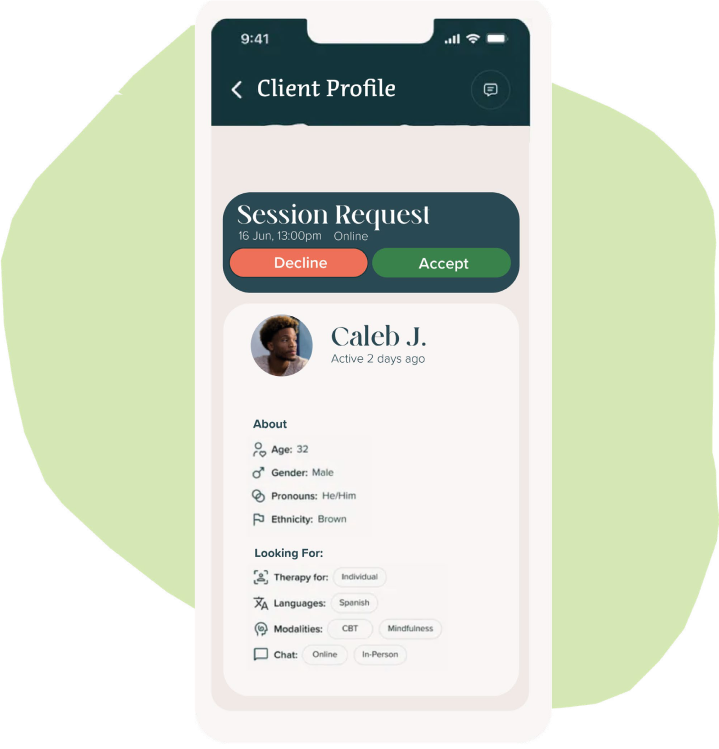
Connecting Clients & Therapists

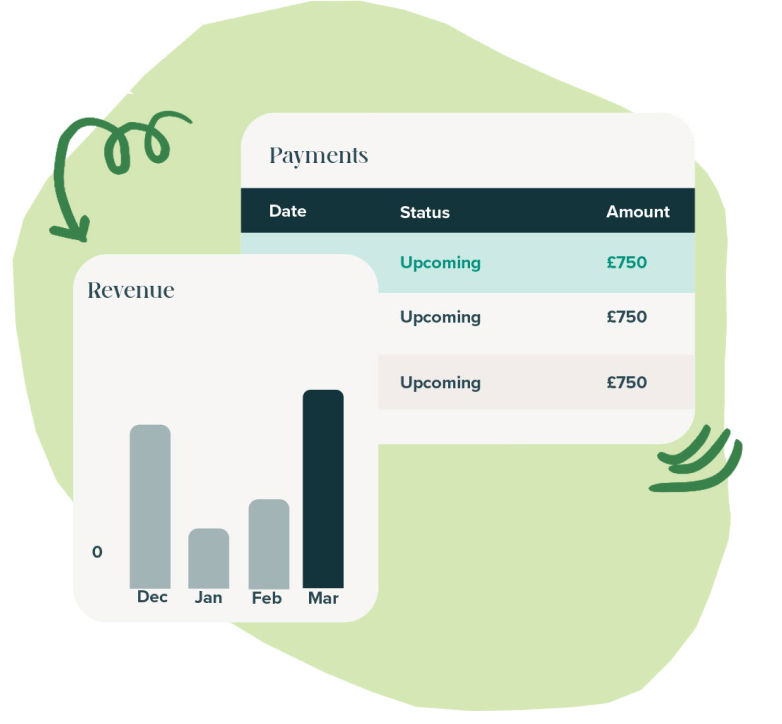
Get Paid Weekly

Thoughts From Therapists


FAQs

Sign-up & Onboarding

Heading 1
Heading 2
Heading 3
Heading 4
Heading 5
Heading 6
Setting up your profile is simple! Follow these steps:
1. Visit the CuraMind Login Page.
2. Click on “Sign Up” under “Don’t have an account?”.
3. Select “I’m a Therapist” from the options.
4. Fill in the form with your expertise, accreditation, and session preferences.
5. Enter your details, agree to the terms, and click “Submit.”

Heading 1
Heading 2
Heading 3
Heading 4
Heading 5
Heading 6
Complete our sign-up questionnaire, which includes your modality, expertise, and accreditation. After we verify your details, you can finalise your account by providing additional information. If needed, you can book a call with our support team for assistance.

Heading 1
Heading 2
Heading 3
Heading 4
Heading 5
Heading 6
Yes, CuraMind is currently available only to accredited therapists. However, we are working to make the platform accessible to trainee therapists in the future. Subscribe to our newsletter for updates.

Heading 1
Heading 2
Heading 3
Heading 4
Heading 5
Heading 6
If your accreditation body isn’t listed, please email us at support@curamind.uk, and we will review your request.

Heading 1
Heading 2
Heading 3
Heading 4
Heading 5
Heading 6
We collect detailed information to ensure we can match you with clients who are the best fit for your expertise and approach, fostering effective therapeutic relationships.

Heading 1
Heading 2
Heading 3
Heading 4
Heading 5
Heading 6
The initial sign-up process takes approximately 15–20 minutes. Completing your profile with additional details may take another 10–15 minutes.

Heading 1
Heading 2
Heading 3
Heading 4
Heading 5
Heading 6
Once your profile is verified, you will receive an email notification with further instructions to complete your setup.

Heading 1
Heading 2
Heading 3
Heading 4
Heading 5
Heading 6
Use the email and password provided in the referral email. After logging in, update your email and password via the “Settings” page for added security.
Account Setup

Heading 1
Heading 2
Heading 3
Heading 4
Heading 5
Heading 6
Follow these steps to sync your calendar:
1. Click on “My Practice” (4th icon down on the left-hand menu).
2. Go to “Booking Settings” on the right-hand side.
3. Select “Sync a Calendar” and choose your calendar provider.
4. Log in to your calendar to complete the sync.

Heading 1
Heading 2
Heading 3
Heading 4
Heading 5
Heading 6
Set your availability by following these steps:
1. Go to “My Practice” (4th icon down on the left-hand menu).
2. Click “Edit Schedule” under the availability section.
3. Enter your working hours and use the “+” icon to add specific time slots.
4. Adjust “Buffer Time” under “Appointment Settings” to ensure breaks between sessions.

Heading 1
Heading 2
Heading 3
Heading 4
Heading 5
Heading 6
To update your profile picture:
1. Navigate to “Settings” (7th icon down on the left-hand menu).
2. Click on “Account” in the top-left corner.
3. Select “Change Profile,” upload your new picture, and click “Save.”

Heading 1
Heading 2
Heading 3
Heading 4
Heading 5
Heading 6
To change your name or email:
1. Go to “Settings” (7th icon down).
2. Under the “Account” section, update your name or email in the relevant fields.
3. Click “Save” to confirm your changes.

Heading 1
Heading 2
Heading 3
Heading 4
Heading 5
Heading 6
Adjust your session preferences by:
1. Going to “My Practice” on the left-hand menu.
2. In the “Booking Settings” section, toggle the buttons for in-person or online sessions.
3. Green indicates enabled; grey indicates disabled.

Heading 1
Heading 2
Heading 3
Heading 4
Heading 5
Heading 6
To adjust your pricing:
1. Navigate to “My Practice” (4th icon down).
2. In the “Pricing” section, choose your client type (individual, couple, family).
3. Update session costs, duration, and any discount packages.

Heading 1
Heading 2
Heading 3
Heading 4
Heading 5
Heading 6
Update your cancellation policy by:
1. Click on “My Practice” in the left-hand menu.
2. Select “Booking Settings” on the right-hand side.
3. Choose your preferred cancellation policy from the options provided.

Heading 1
Heading 2
Heading 3
Heading 4
Heading 5
Heading 6
To set up Stripe for payments:
- Click 'My Earning' on the left-hand side menu bar (5th icon down).
- On the page, you will see a 'Connect with Stripe' bubble. Press 'Connect'.
- A new window will open up to our CuraMind stripe. Fill in your MOBILE NUMBER and EMAIL ADDRESS and press continue.
- You will then be asked to verify your number. Stripe will send you a 6-digit code by text message which you will need to type into the designated boxes and press continue.
- Once your number has been verified, you will need to verify your personal details. You will need to input your: LEGAL NAME, EMAIL ADDRESS, DATE OF BIRTH and PHONE NUMBER. You then need to press continue.
- The next step will ask you to input the industry and your website. We recommend Counselling Services or Health and Wellness Coaching depending on your practice. You can, however, choose another criteria that you believe suits you best.
- If you do not have a website, don't worry. You can press the No URL button below the website input text box and write a brief description of your services. Once you are done press continue.
- Next, you will need to add your BANK DETAILS and press continue.
- The last page you will see is a summary of all the information you have submitted. Please make sure that everything is correct as you will not be able to change it later on. If everything is accurate press 'Agree and Submit'.
- Your account will now go through verification which won't take long! You will now be routed back to your profile in CuraMind.
Matching with Clients

Heading 1
Heading 2
Heading 3
Heading 4
Heading 5
Heading 6
Our system matches therapists with clients based on expertise, location, and client needs. You’ll be notified when a new match is available.

Heading 1
Heading 2
Heading 3
Heading 4
Heading 5
Heading 6
That’s fine! The introductory call is free, and we’ll continue matching you with other clients until you find the right fit.

Heading 1
Heading 2
Heading 3
Heading 4
Heading 5
Heading 6
• Invitation to Book: Clients are exploring their options and checking your availability.
• Intro Call: A confirmed booking for a specific date and time, which will appear on your “Appointments” page.

Heading 1
Heading 2
Heading 3
Heading 4
Heading 5
Heading 6
• Journal Notes: Go to “My Clients” (3rd icon down). Select a client and scroll to the “Patient’s Journal” section.
• Mood Tracker: Access “My Clients,” select the client, and view their mood tracker graph on their profile.

Heading 1
Heading 2
Heading 3
Heading 4
Heading 5
Heading 6
Use the “Appointments” page (2nd icon down). Select a client’s appointment and click “Notes” to add or view notes.
Membership & Benefits

Heading 1
Heading 2
Heading 3
Heading 4
Heading 5
Heading 6
• Effortless Client Matching: Save time on marketing and focus on therapy.
• Transparent Pricing: Pay only when a client continues after the free intro call.
• Simplified Management: Integrated tools for calendar syncing, pricing, and referrals.
• Growth Support: We reinvest fees into attracting more clients for your practice.

Heading 1
Heading 2
Heading 3
Heading 4
Heading 5
Heading 6
• Essential (Free): Unlimited matches, discounted offers.
• Growth (£29.99/month): 8% platform fee, guaranteed referrals, insurance discounts.
• Pro (£69.99/month): 5% platform fee, maximum visibility, flexible cancellations.

Heading 1
Heading 2
Heading 3
Heading 4
Heading 5
Heading 6
Platform fees are deducted from your session fee:
• Essential: 30%
• Growth: 8%
• Pro: 5%

Heading 1
Heading 2
Heading 3
Heading 4
Heading 5
Heading 6
• To change plans, go to “Settings” and select your desired membership.
• If you want to downgrade or cancel your membership you will need to contact us at support@cura-group.com
Deactivating Your Profile

Heading 1
Heading 2
Heading 3
Heading 4
Heading 5
Heading 6
Navigate to “My Practice” and toggle off your profile in “Booking Settings.” Then email us at support@curamind.uk to request account deletion.
Join the Community


